
Introduction
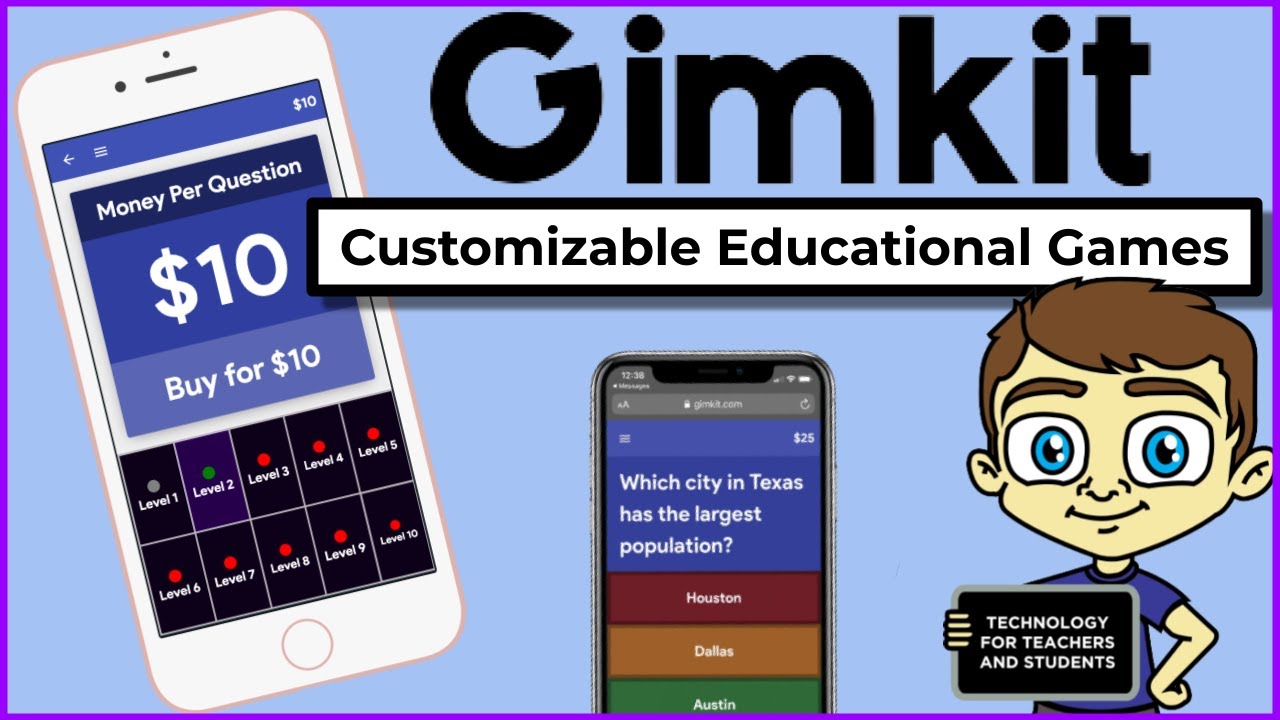
It’s not easy to keep students’ attention in class review sessions. If you want to engage students, its important to learn how to make a Gimkit Game. Flashcards and long-sheets studying are boring. That’s why so many educators love Gimkit. Developed by high school students, Gimkit is a quiz-based video game that is fun and fast-paced. Answer questions to earn virtual money, buy power-ups and compete with your friends in real-time.
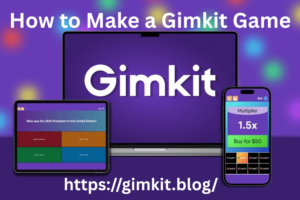
If you are looking for how to create a game on gimkit then you will be pleased to know that creating a gimkit game is easy, fast and really effective. This guide for beginners goes into detail describing each step necessary to make your own question deck, select entertaining 2D games modes, and lead a live session that will captivate your students.
Phase 1: Building Your First Question Deck (The “Kit”)
Before you select a game mode or move in a 3d space, you have to make the questions. In Gimkit, a deck of questions is called a Kit. This is the main engine of your game.
Step 1: Sign Up for a Free Account
Head over to the Gimkit site and fill out a registration. Educators should choose an educator account to access useful classroom resources. Students can sign up for standard accounts to learn or create their own custom maps.
Step 2: Create a New Kit
First, head to your main dashboard. Tap on the New Kit (blue color) button from top left corner.
Step 3: Add Basic Information
A minor popup will emerge requesting the essential information about your game:
Name: Label your Kit with a descriptive name (e.g., Fraction Review or Spanish Vocab). )
Language: Select the language you are teaching in.
Topic: Select the subject area which most closely matches your quiz.
Step 4: Add in your questions
There are a couple ways you can enter questions in Gimkit. Select the simplest one for your needs:
- Multiple Choice: Write your question, type the one correct answer and the wrong options (up to three). With Text Input, players have to type out the answer, word for word. It makes sure students don’t guess their way to success.
- Flashcards Import: Have a vocabulary list prepared? Copy and paste the text into Gimkit and create your cards in seconds.
- The Collaborator: This mode specific share button will generate for you a link that you can send your student. All users can enter a question simultaneously to collaborate on the creation of a game.
After you add all your questions, click the All Done button in the upper right-hand corner to save your Kit and get a smarter gameplay.
Phase 2: Launching a Live Classroom Game
Your Kit is all set, so it’s time to bring those questions to life with an active live game in your classroom.
Step 1: Choose Your Kit
Go to your main dashboard. Hover your mouse over the Kit you want to use and click Play Live.
Step 2: Select a Game Mode
This is what makes Gimkit special. You don’t have to settle for the simple quiz leaderboard, you can select from a variety styles of video games.
Step 3: Adjust your settings
Before you begin, customize the rules to perfectly suit your class period:
- Time vs. Money. Choose whether the game ends when time runs out (as if there were a 10-minute timer) or someone reaches a particular money target (such as making $10,000).
- Power-ups: Enable this setting so the students can buy funny upgrades in the shop like shields or point multipliers.
Step 4: Invite Your Players
Click Continue to proceed to the lobby screen. A big unique game code will pop up on your screen.
Have your students open gimkit.com/play on their personal devices. They will enter the game code, put in their real names, and press join. When everyone is in the lobby, press Start Game.
Phase 3: Assigning Gimkit as Homework (Self-Paced)
You don’t need to be in class to host a live match. You also have the option to send a Gimkit game home as a homework task.
- Go to Assignments: Select Assignments on the left side menu of your dashboard.
- Set Up the Work: Click Create Assignment. Select your Niman Kit and set your financial goal (e.g., “Raise $5,000 to complete mine”). Choose a specific due date and time.
- Choose Your Class: Select the class roster for which you want this work. You may also connect your Google Classroom to sync everything immediately.
- Share the Link: Tap the create final button. Copy the link from the website that is created and paste it in your school’s learning management system (like Canvas or Schoology) for students to click and play from home.
Phase 4: Advanced Custom Games with Gimkit Creative
Whether you or your students are ready to go beyond preset themes and create a completely original world, Gimkit Creative is here to help.
Step 1: Access Creative Mode
Open Minecraft and select Play. Click on the “Creative” tab in the left sidebar menu and then click on the Create New Map button.
Step 2: Select the Camera view
Top-Down (overhead view) or Platformer (side scrolling view as seen in games such as Super Mario). Give your custom project a fun name.
Step 3: Draw Your Map Layout
Create your level with the built-in tile paint tool:
Points of Interest: Add solid ground, water, or stone that players can’t cross. Place solid ground blocks and add water obstacles or stone walls that cannot be walked across by your players.
Props: Toss some trees, tables, signs or vending machines on the map.
Step 4: Wire the Game Actions
To wire up your game to run like a real video game, use Gimkit’s straightforward wiring system. You can actually put interactive areas on the floor. You can wire a particular floor tile so that a quiz question pops when you step on it, move to a different room or get a speed boost.
Read this out: https://gimkit.blog/why-is-gimkit-not-working/
(If you are already using Gimkit and facing issue in using Gimkit.)
Frequently Asked Questions (FAQ)
-
Can students make a Gimkit game for free?
Yes! Students create a free account, make as many question Kits as they like, play in Gimkit’s Creative mode, and join any live game a teacher hosts.
-
What is the difference between a Kit and a Game Mode?
A Kit is the set of questions and answers you create. A game mode is the rule set that you put on those questions (for example, a zombie survival world or a fishing game). You can have the same Kit in multiple game modes.
- Do students need an account to play?
No. Students do not need to log in or make an account to participate in a live class game. They just go to the play URL, enter the temporary game code, and play.
Conclusion
Knowing how to make gimkit is a great way to spice up bored class review days and turn them into a fun video game. Build a solid question Kit and select the appropriate 2D Game Mode or design your own maps in Gimkit Creative to create a learning space that kids will want to visit each week.